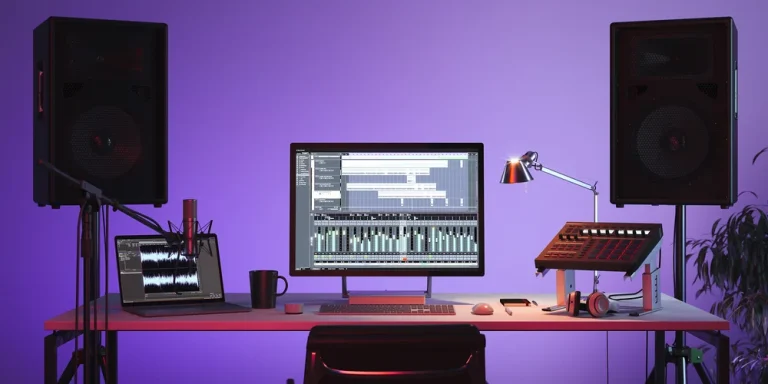
Avoid Clipping Audio and Create Jaw-Dropping Sound Mixes
You’ve worked tirelessly on your latest audio mix masterpiece, but there’s one thing that’s stopping your mix from reaching its full potential: the dreaded clipping audio.
You know that pesky distortion that ruins the vibe you’ve so carefully crafted? Yeah, that one. You’re frustrated, and we totally get it.
But fear not, music producer! There is hope.
In this article, we’ll help you conquer audio clipping once and for all and elevate your sound mix game to jaw-dropping levels.
Ready to kick clipping to the curb and make some killer mixes? Let’s begin.
Key Takeaways:
- Address clipping causes: Ensure proper microphone placement, maintain gain levels, and monitor level meters during recording.
- Apply EQ and compression: Balance frequencies with EQ, and control dynamic range using compressors and limiters to prevent clipping.
- Manage post-production distortion: Use soft clipping and saturation plugins, and mitigate hard clipping through proper gain staging, clip restoration, and parallel processing.
Table of Contents
Understanding Audio Clipping
Analog Clipping
Analog clipping occurs when the amplitude of an audio signal exceeds the maximum limit of your analog system. This results in overdrive, causing distortion in the waveform.
In an analog system, this type of distortion might not be as severe as in a digital system, but it can still lead to a loss of audio quality.
When working with analog equipment, keeping your signal levels in check is essential to prevent unwanted distortion.
Digital Clipping
Digital clipping is similar to analog clipping but occurs when the signal level surpasses the digital system’s maximum allowed limit. When this happens, the waveform becomes abruptly truncated, resulting in a distorted, square-like appearance. This type of distortion can lead to harsh and fuzzy audio, which is undesirable in most sound mixes.
| Key Difference | Analog Clipping | Digital Clipping |
|---|---|---|
| Type of Distortion | Soft Distortion | Harsh Distortion |
| Prevention and Management | Monitor signal levels | Use limiters & proper gain staging |
Now that you understand audio clipping better, you can apply some common techniques to minimize and manage it in your mixes.
- Proper Gain Staging: Ensure your signal levels are well managed throughout your signal chain, from recording to post-processing.
- Use Limiters: Incorporate limiters in your mixing process to control and prevent audio clipping by setting a threshold for the maximum signal level.
- Use Compression: Apply compression to reduce the dynamic range of your audio, making it easier to manage and control the signal levels.
For more insights on managing audio clipping, check out this YouTube video on <a href=”https://www.youtube.com/watch?v=0BiT20JgYk8″>Understanding Audio Clipping and How to Fix It</a>. By properly understanding and addressing audio clipping, you can create jaw-dropping sound mixes that will captivate your listeners.
Identifying Clipped Audio and Causes
When working with audio, it’s crucial to identify clipped audio and its causes to create a great sound mix.
Clipping can result in distortion, reducing your audio recordings’ quality. In this section, we’ll discuss the two main causes of clipped audio: overloaded recording and improper gain staging.
Overloaded Recording
Overloading occurs when the input signal is too strong for your recording equipment, such as a microphone, pre-amp, or digital recorder. The following signs will help you identify overloaded recordings:
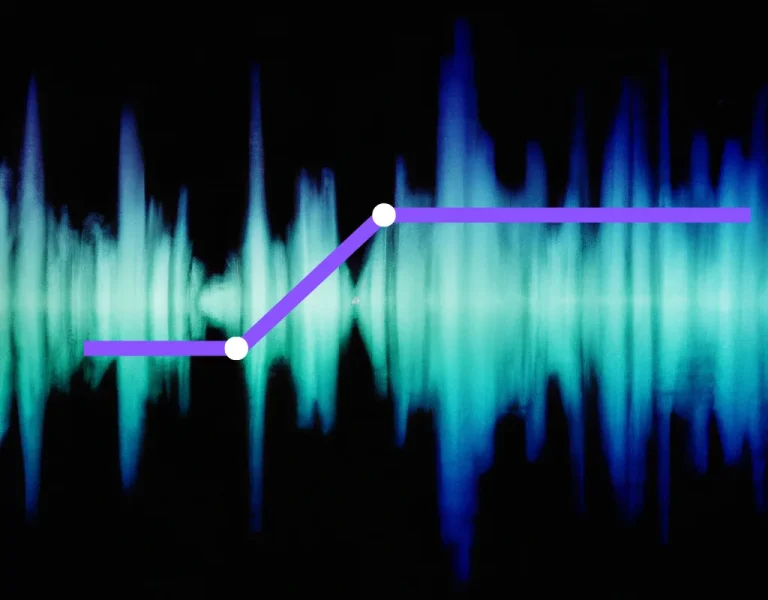
- Check the waveform: Look for flat, horizontal lines at the top and bottom of the waveform. This indicates the signal has exceeded the recording system’s maximum limit.
- Listen for distortion: Listen to the recording carefully for any crackling, popping, or distorted sounds that might indicate clipping.
To prevent overloaded recordings, follow these tips:
- Adjust the microphone positioning, moving it farther away from the sound source to reduce the signal strength.
- Use a pad switch, if available, to attenuate the signal before it reaches your recording device.
- Select an appropriate microphone type for your recording environment and sound source, as different microphones have different sensitivities.
Improper Gain Staging
Improper gain staging can cause clipping at various points in your signal chain, including the microphone, pre-amp, amplifier, and digital recorder. To avoid improper gain staging, follow these steps:
- Set the input gain: Adjust the input gain on your pre-amp, interface, or recorder so that the input signal remains below the maximum allowable level. Keep an eye on your recording device’s meter, ensuring it doesn’t clip.
- Set the output gain: After setting the input gain, adjust the output gain of the pre-amp or interface to properly match the input gain of your amplifier or speaker system.
- Check your signal chain: Inspect your entire signal chain, including microphones, cables, pre-amps, interfaces, amplifiers, and speakers, for potential sources of clipping.
| Audio Component | Clipping Indicator |
|---|---|
| Microphone | Distorted sound |
| Pre-amp | Red LED or clipped waveform |
| Amplifier | Audible distortion or overheating |
| Digital Recorder | Clipped waveform or red indicator |
Following these guidelines will help you recognize and address clipped audio, ensuring you create a high-quality and jaw-dropping sound mix.
Preventing Clipping in the Recording Process
Proper Microphone Placement
One of the key aspects of preventing clipping is ensuring correct microphone placement.
Experiment with different distances and angles between your microphone and the sound source in order to achieve the best recording quality.
Ensure there’s neither too much distance nor too little, as both can lead to unintended distortion or low signal levels.
Gain Staging
Setting the proper gain structure throughout your recording is essential for avoiding clipping.
Gain staging refers to adjusting the input levels of all devices in your audio chain, such as the microphone, preamp, mixer, and DAW (Digital Audio Workstation).
Follow these steps for optimal gain staging:
- Position your microphone properly (as mentioned above).
- Adjust the gain on your preamp or mixer to record the cleanest and loudest sound without distortion.
- Set your input level on the DAW to match the output level from the preamp or mixer, ensuring the signal does not exceed -6 dBFS (decibels full scale). In most digital systems, -6 dBFS is a safe target level.
| Signal Level | dBFS | dBu (analog) |
|---|---|---|
| Unity Gain | 0 | 0 |
| Target Level | -6 | Varies |
| Minimum Record | -18 | Varies |
Note: dBu levels may differ in analog equipment.
Managing your gain staging in both digital and analog systems is important to prevent clipping and ensure the best possible audio quality.
Level Meters
Monitoring the level meters of your DAW and other equipment is crucial to ensuring you’re not clipping.
Familiarize yourself with the visual cues of level meters, and pay close attention to the peak and RMS levels.
Aim for a balanced, dynamic audio signal without exceeding your target level.
| Type | Description |
|---|---|
| Peak | Represents the highest volume of audio signal |
| RMS | Represents the highest volume of the audio signal |
Remember to keep an eye on your level meters while recording and adjust the gain levels if you notice any clipping occurring.
By understanding and implementing proper microphone placement, gain staging, and monitoring level meters, you’ll be on your way to recording clean, dynamic audio without unwanted clipping.
Using EQ and Compression Techniques
Let’s explore techniques for using EQ and compression to overcome clipping audio and create impressive sound mixes.
Working with EQ
Equalization (EQ) is a crucial tool in your mixing arsenal that helps you balance the frequencies of individual elements in your mix. By properly applying EQ, you can resolve issues like excessive bass or harsh treble that cause clipping in your audio (source).
Here are some tips for effectively using EQ:
- Identify problem frequencies: Start by isolating troublesome frequency ranges and make necessary adjustments.
- Remove muddiness: Boost the mid-range frequencies to add clarity to your mix.
- Add brightness: Enhance the high-frequency range to add brightness and sparkle to your mix.
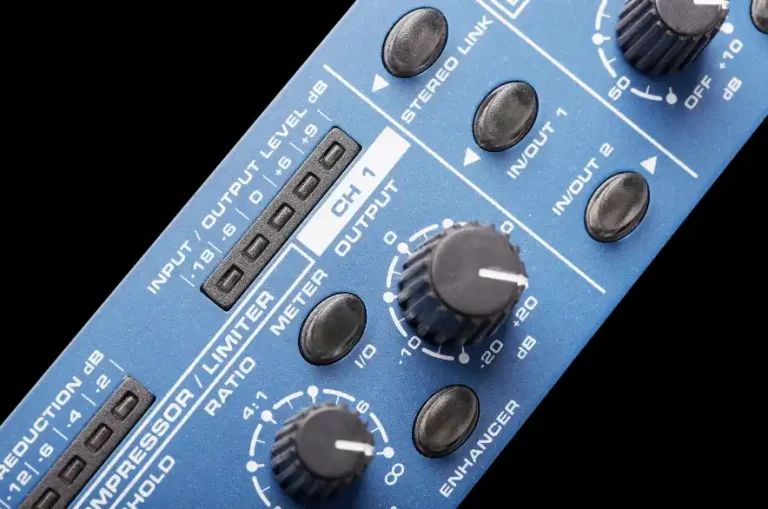
Utilizing Compression and Limiters
Compression and limiters are essential tools for controlling the dynamic range of your mix, which directly affects its loudness and headroom. Using these tools effectively can help you prevent clipping, improve balance, and create a cohesive mix.
Compression
A compressor helps control the dynamic range of your audio signals by reducing the volume of loud parts of your mix while leaving quieter parts untouched. Here are some suggestions for using compressors:
- Adjust the threshold: Set the level above which compression starts to take effect.
- Choose attack and release settings: A slow attack time maintains some punch in your drums and samples, while a fast release can create rhythmic action (source).
Limiters
Limiters function as a safety net, preventing audio signals from exceeding a set threshold—thus avoiding clipping.
- Set a ceiling: Configure the maximum loudness limit to avoid distortion.
- Adjust the release time carefully: Limiters should give your mix the needed headroom without sacrificing its overall energy.
The following table provides a brief comparison of Compressors and Limiters:
| Compressor | Limiter | |
|---|---|---|
| Function | Controls dynamic range | Prevents clipping |
| Threshold | Adjustable | Determines maximum loudness |
| Attack & Release | Vary based on mix needs | Optimized for safety |
Remember, by learning how to effectively use EQ and compression tools like compressors and limiters, you can prevent clipping, create more balanced and impressive mixes, and ultimately produce better-sounding music.
Managing Distortion in Post-Production
Soft Clipping and Saturation
Soft clipping and saturation help manage distortion and create a smooth audio mix. They differ in the intensity and outcome of their processing:
- Soft clipping mimics analog clipping by rounding off the peaks of the audio, maintaining a natural and warm tone. Apply a soft clipping plugin to avoid sudden waveform distortion and increase perceived loudness without decreasing dynamics.
- Saturation adds harmonic distortion, resulting in a richer, fuller sound. You can add saturation plugins to individual tracks or the master bus to emphasize specific frequencies, giving a unique character to your mix.
Experiment with different saturation and soft-clipping plugins for the desired result, keeping in mind that subtlety is key. Overuse could make your mix muddy or overly distorted.
Mitigating Hard Clipping
Hard clipping occurs when the input signal exceeds the digital device’s threshold, causing unpleasant distortion.
Here are some steps to mitigate hard clipping in post-production:
- Gain staging: Maintain proper gain staging throughout your recording and mixing process. Set appropriate input levels, aiming for a maximum peak level of -6 dB, which provides ample headroom to avoid overloading your signal and reduces the risk of distortion (Source: LinkedIn).
- Clip restoration: Use software such as iZotope Rx2, Sound Forge, or Adobe Audition to restore clipped audio. These tools attempt to rebuild the waveform, reducing distortion and preserving the original sound.
- Dynamic processing: Apply compression or limiting strategically. Gradual compression with low ratios can help tame peaks, whereas aggressive limiting can push down peaks and bring up quieter parts. Use these tools responsibly, as over-compressing can result in lifeless mixes.
- Parallel processing: Blend the original unprocessed audio with the clipped or saturated version. This technique lets you achieve the desired effect while retaining the natural dynamics and character of the source.
Remember, it’s always best to prevent clipping during the recording phase.
However, if distortion and clipping occur, the techniques above can help you manage and reduce their impact in post-production.
Conclusion
It’s totally normal to feel overwhelmed by the idea of tackling clipping audio and creating amazing sound mixes. After all, you’re passionate about your project and want it to sound the best it can!
Just remember, breaking the process down into manageable steps can make a world of difference.
For example, you might think, “How am I ever going to make sense of all these sound issues?” Don’t worry; as you practice and implement the techniques discussed in this article, you’ll get better and better at identifying and addressing those pesky audio problems.
With persistence and a little patience, you can transform your sound mixes into a jaw-dropping experience for your audience. And don’t forget to keep experimenting and learning from your mistakes along the way – that’s what truly separates good sound engineers from great ones.
Now, go forth and conquer those audio challenges!
You’ve got this, and with the knowledge gained from this article, you’re well on your way to achieving sound mixing greatness!