How to Use Automation in Logic Pro X (Explained)
Automation is a valuable skill set that every aspiring musician and digital artist should aspire to learn, but if you’re new to using Logic Pro X, you may need help figuring out where to start.
Here’s how to use automation in Logic Pro X.
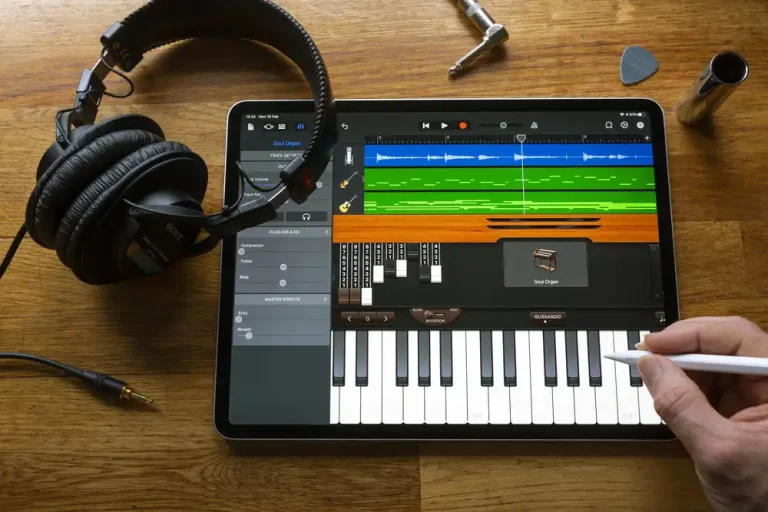
Hit Command A to bring up the automation menu. From here, you can adjust parameters like volume, panning, and plugin integration and have them dynamically shift throughout the track.
Adding automation is a great way to bring flair to your track, change effects, and adapt on the fly.
To get started, you must familiarize yourself with Logic’s Automation tools.
The rest of this article will help you get started with Automation in Logic Pro X.
What Is Automation?
Automation is a set of commands that allows your chosen DAW to alter the track at specified points dynamically.
In Logic, these points are called nodes, and you can adjust various parameters to make the song come to life.
Skillfully executed automation is the key to exciting music and can breathe life into a song.
Building space with EQ elements, saturating your sound, adding delay, touching up some reverb, or even pumping the volume are all essential parts of automation.
How to Use Automation in Logic Pro X
Automation starts simple, but you can incorporate it dynamically throughout your song without much effort.
To begin, open one of your tracks in Logic Pro X and press Command+A to access the Automation menu.
Doing so will allow you to change different automation settings in your Track Headers.
The loudness will be the first modifiable option by default.
To automate a section of the track, use the Marquee.
These points are known as nodes in Logic.
To make changes to a node, click on it.
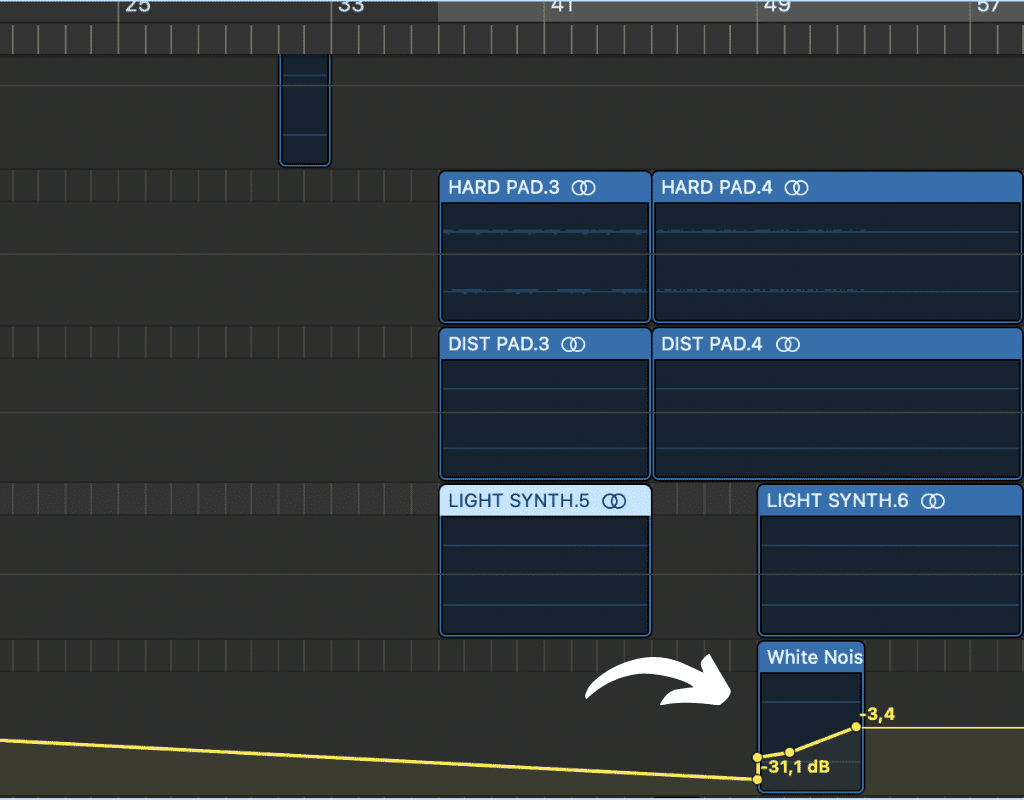
Drag the line between the nodes up to add volume if you want to crank up the volume in a node, for example.
Of course, you can’t generate a wall of sound; instead, you can make the beats in the node crescendo or fade out.
Navigate to Main from the dropdown menu after selecting the automation menu on the track to see your options.
From here, you can do any of the following:
- Pan your track
- Solo your track
- Mute your track
If you want your track to drop out for a moment to create space, then the Mute is a great option.
Set your chosen automation to Mute, select the track piece you want to Mute, and adjust it to Mute.
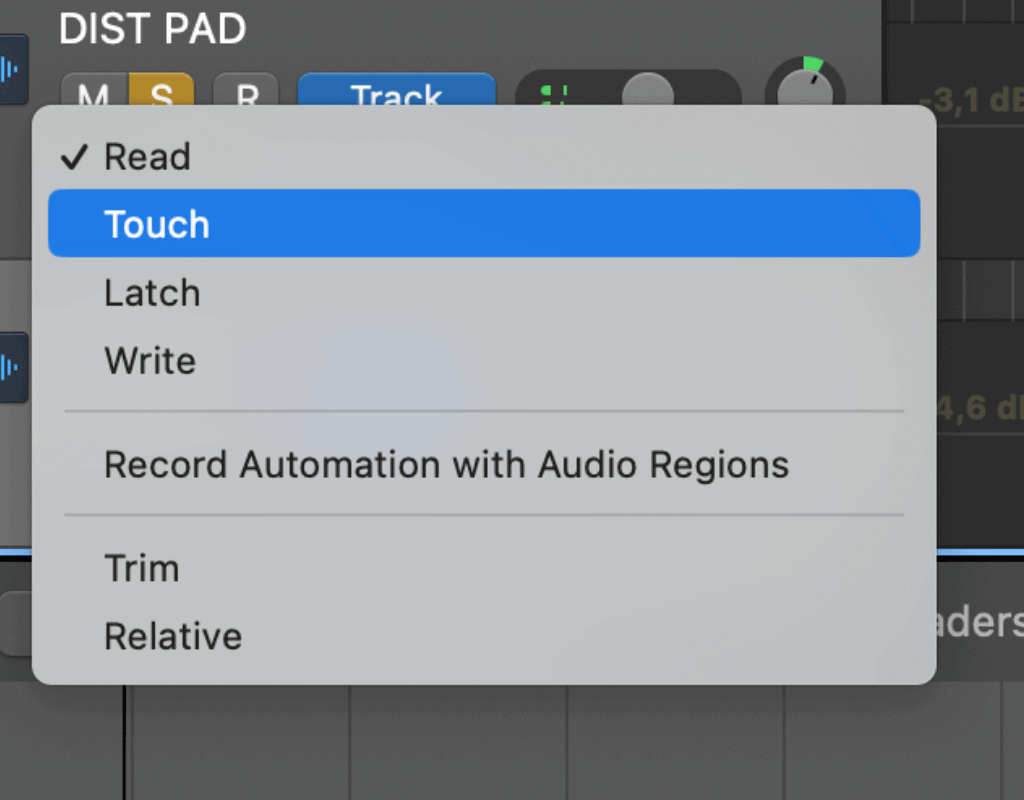
Touch Mode
In Output and Groups, you can navigate to Touch Mode, where you can write automation on the fly.
To do so, follow these steps:
- Start playback.
- Adjust settings with your fader, pan pot, or plugin knob as the song plays.
- Navigate to Read Mode to review your automation.
As you adjust your equipment, automation will be written on the fly, making it a great option if you want more control over your automation.
Touch Mode starts the moment you begin adjusting your sound, returning to the original settings for your knobs as soon as you stop making adjustments.
Latch Mode
Latch Mode is very similar to Touch Mode in that it allows you to adjust your song on the fly, but once your automation finishes writing, Logic will retain the settings you changed.
For example, dragging the fader down to -15dB will stay there once you finish adjusting.
Write Mode
Write Mode starts automating as soon as you start playback in Write Mode.
Logic writes automation whether you start or stop.
Read Mode
Read Mode isn’t a way to record automation, but you’ll always want to set Logic to read Mode once you think you’ve captured the perfect sound.
From here, initiate playback, and you can hear the automation you’ve just created.
Trim Mode
When in Trim Mode, you offset your automation values by moving the control.
Doing so offers a unique sound for your automation that you can fiddle around to find the perfect loop.
Relative Mode
Relative Mode works similarly to other modes: create a secondary automation curve to offset the primary automation curve.
You can use this Mode to create different, more dynamic sounds in your loop.
Related article: 15 Powerful Logic Pro X Beginner Tips You Must Know
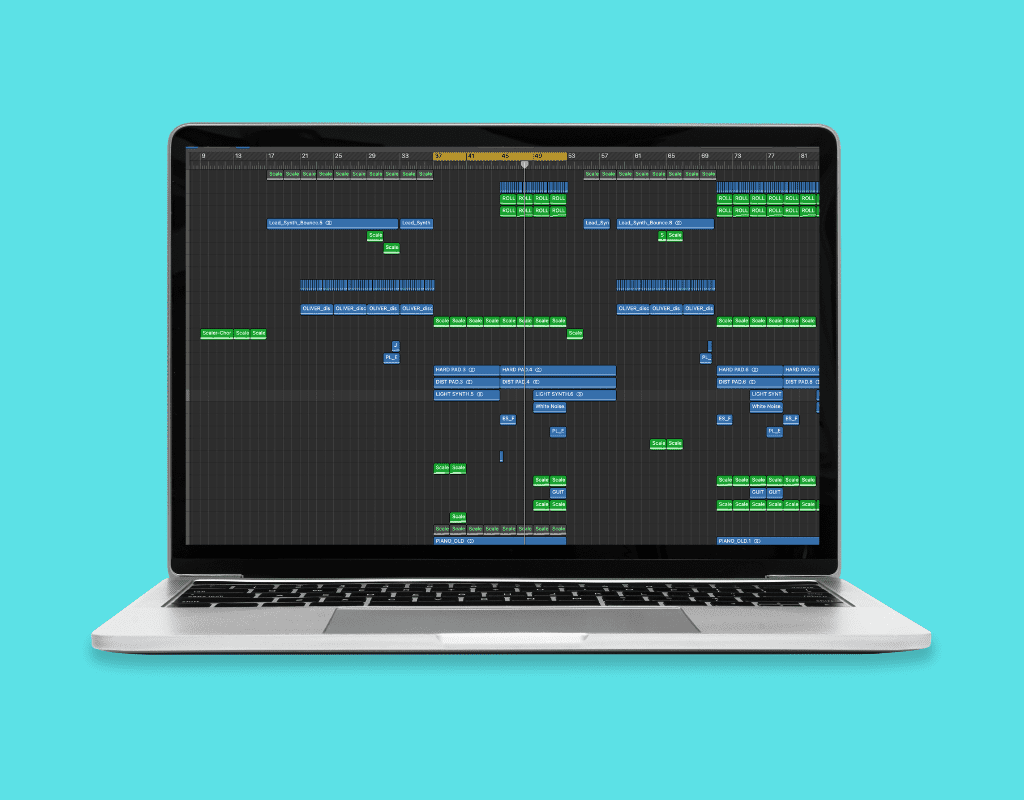
Track-Based Automation and Region-Based Automation
When you’ve crafted or sampled great automation, you want to use in your song, implementing it will be a task suited for either track or region-based automation.
If your automation rides the entire length of the vocal track, then track-based automation is the resource for you.
Set your automation to track-based automation, and whatever you write will span the length of the vocal track.
Region-based automation, on the other hand, can be set up to repeat automation within a specific region or node.
If you need to isolate the perfect automation, set it to Region on the left side of the screen as you automate.
Automation Editing
You can freely adjust automation points by moving them up, down, left, or right. You can also shift-click to select multiple points and delete unwanted “points” with the Delete button.
Use the curve tool to create smooth automation curves, or press Shift and Control while dragging the curve.
Final Thoughts
Logic Pro X is a dynamic DAW that lets you automate in many different ways.
Understanding how best to add automation to your song is undoubtedly daunting.
Executing automation, however, is a skill set that’s well worth learning if you want to develop your skills as a digital artist, and if you haven’t already, start experimenting today!
Frequently Asked Questions
What are the steps to set up fader automation in Logic Pro X?
To set up fader automation in Logic Pro X, first enable automation on your session by clicking the Automation Toggle. Then select the track for which you want to create volume automation. In the track’s info section, choose the volume parameter from the dropdown menu. Now you can click on the automation line to create breakpoints and adjust them to create volume fades or changes as needed. Audio Assemble provides a complete guide on how to set up fader automation in Logic Pro X.
How can I fix volume automation not working in Logic Pro X?
If volume automation is not working in Logic Pro X, try checking the automation mode is set to “Read” or “Latch.” Also, ensure that the affected track’s volume is not muted or soloed, which can disrupt the automation process. Refer to the Apple Support article for more information on troubleshooting volume automation in Logic Pro X.
What is the process for automating panning in Logic?
To automate panning in Logic Pro X, enable Automation Toggle and select the track for which you want to automate panning. Instead of selecting the volume parameter, choose the “pan” parameter from the dropdown menu. Create breakpoints on the automation line and adjust them to pan the track as desired. Why Logic Pro Rules provides more details on automating panning and other parameters in Logic Pro X.
How do you use relative volume automation in Logic Pro X?
Relative volume automation allows you to make changes to your track’s volume without affecting the original volume setting. To use relative volume automation in Logic Pro X, enable Automation Toggle, and select the track for which you want to apply relative volume automation. In the track’s info section, select the “relative volume” parameter instead of the regular volume parameter. Adjust breakpoints to modify the volume relative to its original level.
What is the correct way to use the volume tool in Logic Pro X?
The volume tool in Logic Pro X is used for adjusting track volume on a clip-by-clip basis. To use the volume tool, select it from the toolbar located at the top of the screen. Then, click and drag on the top edge of an audio region to create fades or adjust the volume. This is different from volume automation, which involves modifying the volume parameter on the automation line.
How can I utilize modulation automation in Logic Pro X?
You can use modulation automation to control various plugin parameters, such as filter cutoff, LFO rate, or effect mix levels. First, enable Automation Toggle, and choose the desired parameter from the dropdown menu in the track’s info section. Next, create breakpoints on the automation line and adjust them to automate the modulation effect as desired. Learn more about using modulation automation in Logic Pro X on BrianLi.com.
References
https://www.soundonsound.com/techniques/logic-pro-x-automation-tips
https://support.apple.com/guide/logicpro/automation-overview-lgcpb1a1ea03/mac