How Do You Record and Edit Audio in Logic Pro X?
As a leading digital audio workstation (DAW), many professionals widely consider Logic Pro X a top choice.
However, for those new to Logic Pro X, understanding how to record and edit audio within the platform effectively can be challenging. So how do you record and edit audio in Logic Pro X?
You can record audio with Logic Pro X through a straightforward process, which includes configuring your audio interface and instruments, creating a new track, and initiating the recording process.
Once recorded, you can easily edit the audio using the Audio Track Editor menu.
While familiarizing oneself with a new digital audio workstation may present a challenge, it can be accomplished quickly.
This article will walk you through the recording process in Logic Pro X and give you helpful tips and tricks for editing your audio so you can get back to spending more time creating music.
How Do You Record and Edit Audio in Logic Pro X?
Navigating the vast landscape of digital audio workstations (DAWs) can be daunting; however, recording and editing audio with Logic Pro X simplifies the process.
By following these four straightforward steps, you can efficiently record audio within Logic Pro X:
- Setting up your interface
- Creating a new audio track
- Record-enabling your track
- Recording
When it comes to editing recorded audio tracks, several techniques can be employed, including:
- Trimming
- Splitting
- Changing pitches
- Quantizing your beats and notes
How to Record Audio in Logic Pro X
Step 1: Setting Up to Record Audio
To record audio into your Logic Pro X DAW, you will need the following:
- An audio interface
- Microphone or an electric instrument with the proper cables, such as XLR for microphones
Before preparing to record, you must ensure that all your equipment is plugged into your computer and ready to go.
Next, open up Logic Pro X on your computer.
Once the application is open, ensure your audio interface is set as the input and output.
To check this setting, head to the preferences tab in the application.
You’ll find the preference menu at the top left-hand side of Logic Pro.
Step 2: Create A New Audio Track
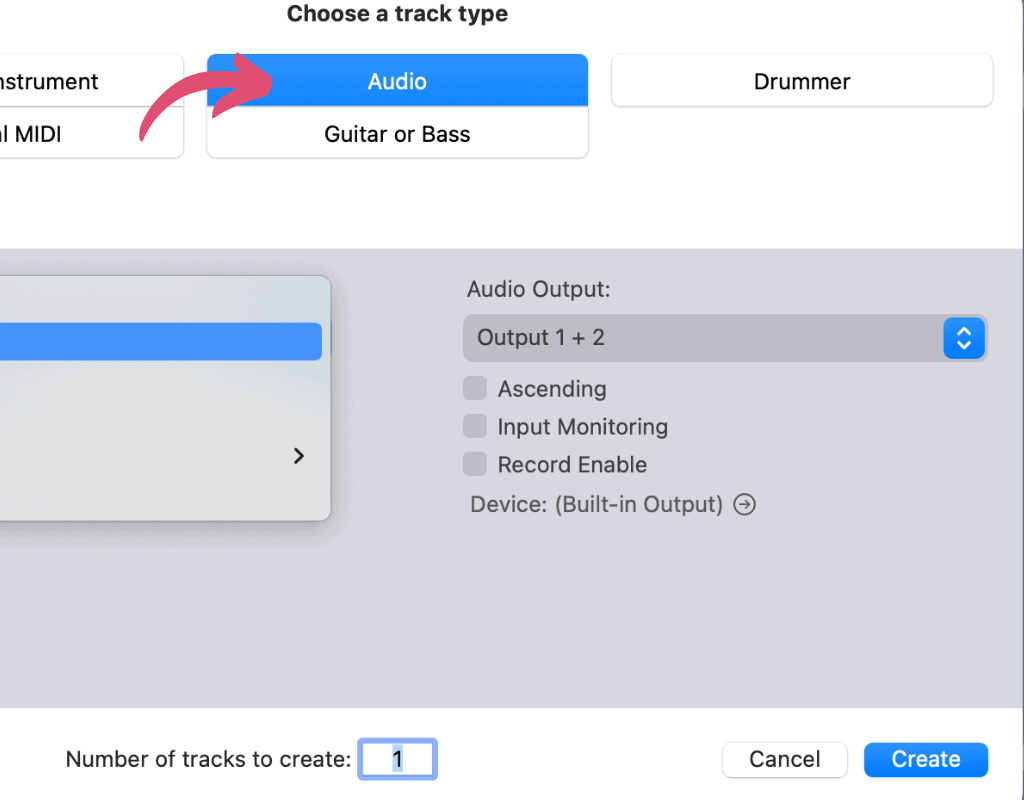
After setting the proper preferences, click on the add tracks button in the Logic Pro toolbar.
You will have two options: record with a microphone or instrument. Choose whichever fits your needs best.
Next, assign the right audio interface channel as the input device for that track.
The number of available channels on your interface depends on your AI.
If you are recording with your microphone, chances are that the appropriate channel plug-in is for Input 1.
You can check the assigned input channel using the track’s channel strip.
If not visible, try pressing: command + I.
Step 3: Record-Enable Your Track
Once you have your inputs organized, it’s time to record.
In the header of your track’s channel strip, you’ll see a variety of buttons.
One of these buttons will have an “R” on it, and that’s your record-enable button.
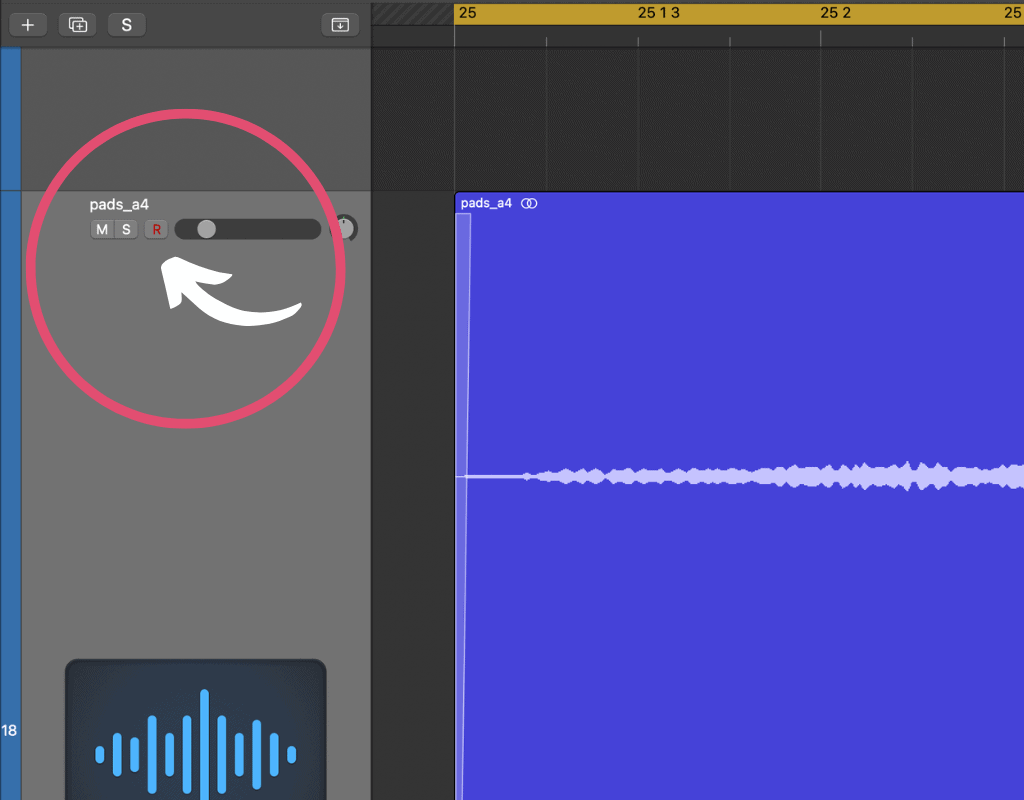
By clicking on the “R,” Logic Pro X knows you’re ready to record.
However, this does not mean it will record but is prepared to start.
Play or sing a little to get a feel for the audio levels.
Watch the signal meter.
You need a nice green signal that can get loud without hitting the red.
If it turns red, you are too loud. Use your gain knob to adjust accordingly.
Step 4: Record
Now you are ready to start recording those epic riffs and superb vocals.
Hit command + R to record. Press the spacebar to stop recording.
Related article: 15 Powerful Logic Pro X Beginner Tips You Must Know
How to Edit Audio in Logic Pro X
To start editing your audio, select the track you want to edit. Once selected, click on the Editors button- it will look like a pair of scissors.
Double-click on a specific audio region to open it in the track editor.
The audio track editor is a helpful tool that will appear below the main tracks.
There are two methods of editing audio: destructive and non-destructive.
Destructive editing changes the qualities of your track that you won’t easily be able to get back.
Most of these edits use the Audio File Editor, and Non-destructive edits use the Audio Track Editor.
This article will cover non-destructive methods.
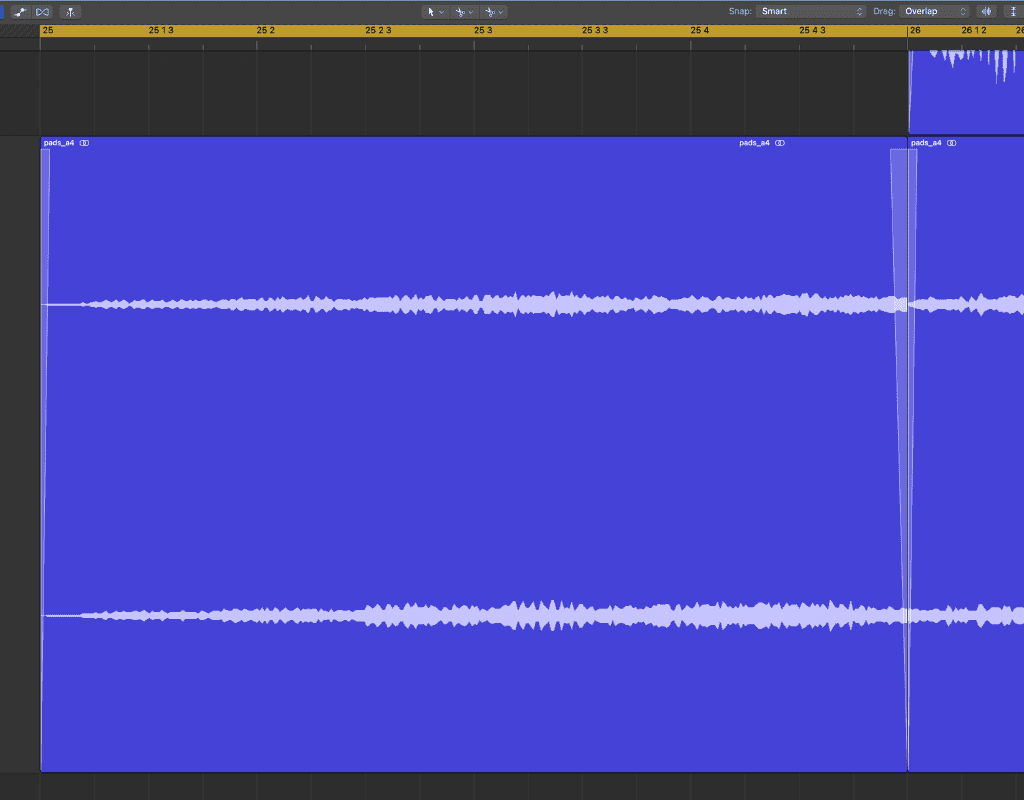
How to Trim Audio in Logic Pro X
Trimming audio helps you cut out dead air spaces, and it also enables you to remove mistakes in otherwise great recordings.
Trimming audio is super easy! In the track editor menu, hover your mouse over the track’s lower left or lower right regions.
Your pointer will change to a trimming tool. Click and drag your track to the point that you want to remove.
Trimming to a zero crossing point, where the audio wave flatlines to the center line, is best.
How to Split Audio in Logic Pro X
To split an audio region, you will need to select the scissors icon.
Click and drag the scissors tool across the audio track in the editor to break the section you want to separate.
If you accidentally split something you didn’t mean to, you can rejoin it.
Your first option is to select Edit, click on Bounce and Join, and hit Join.
You can also use the glue tool and choose the two sections you want to reconnect.
How to Change an Audio’s Pitch in Logic Pro X
The first tool you need to become acquainted with to change pitch in Logic Pro X is the Flex Pitch.
Flex lets you quantize your audio and change its pitch.
To get started, select the Flex button from the Audio Track Editor menu, which will open another drop-down.
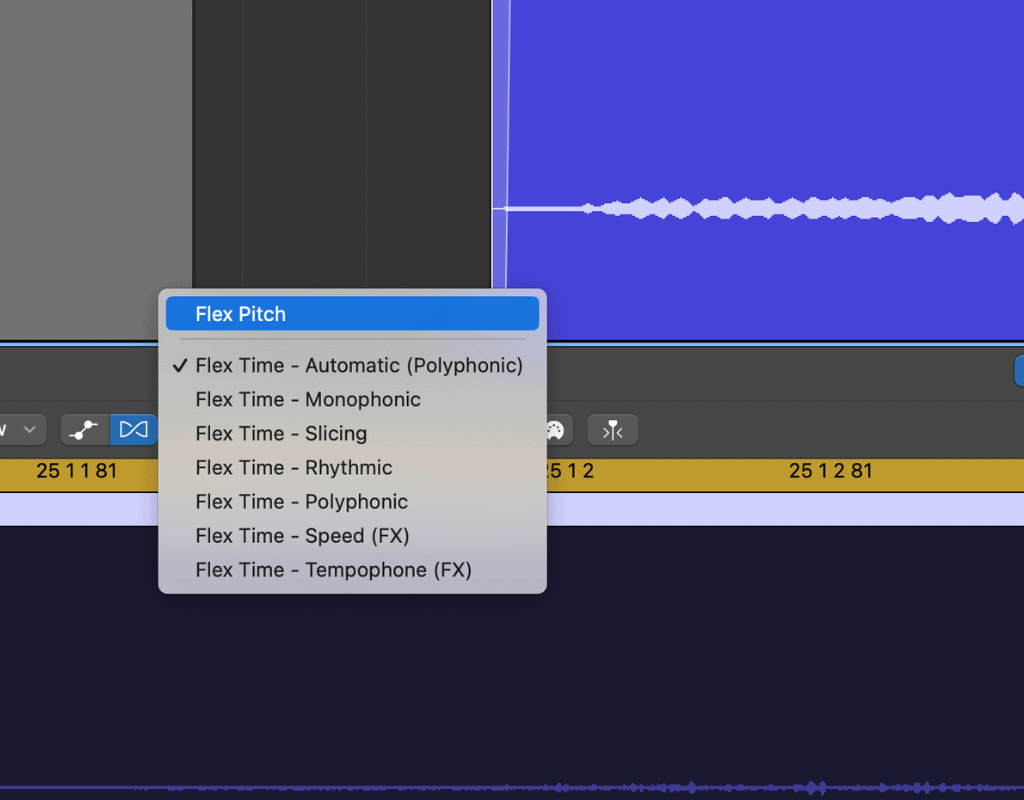
Click on Flex Pitch.
Once it is selected, you can click and drag notes around in your audio’s waves to change their pitch.
How to Quantize Your Audio with Logic Pro X
Flex Time is another helpful editing tool for audio.
It allows you to edit the timing of your notes or beats and expand or compress your audio to suit you.
To access it, open the Flex button from the Audio Track Editor menu again.
Instead of selecting Flex Pitch, click on one of the Flex Time algorithm options.
Final Thoughts
It’s straightforward to record and edit audio in Logic Pro X.
With the ability to adjust pitch and timing and add effects, Logic Pro X has a lot to offer when it comes to editing and refining audio recordings.
The Audio Track Editor menu allows for easy editing of the audio, and by following the steps above, you should be ready to record in no time.
Do you struggle with recording audio in Logic Pro X? Let us know in the comments.
References
https://support.apple.com/guide/logicpro/audio-tracks-lgcpbe8774d7/10.5/mac/10.14.6
https://support.apple.com/guide/logicpro/audio-track-editor-lgcpb4640a57/mac
https://support.apple.com/guide/logicpro/flex-time-and-pitch-overview-lgcp15968647/mac